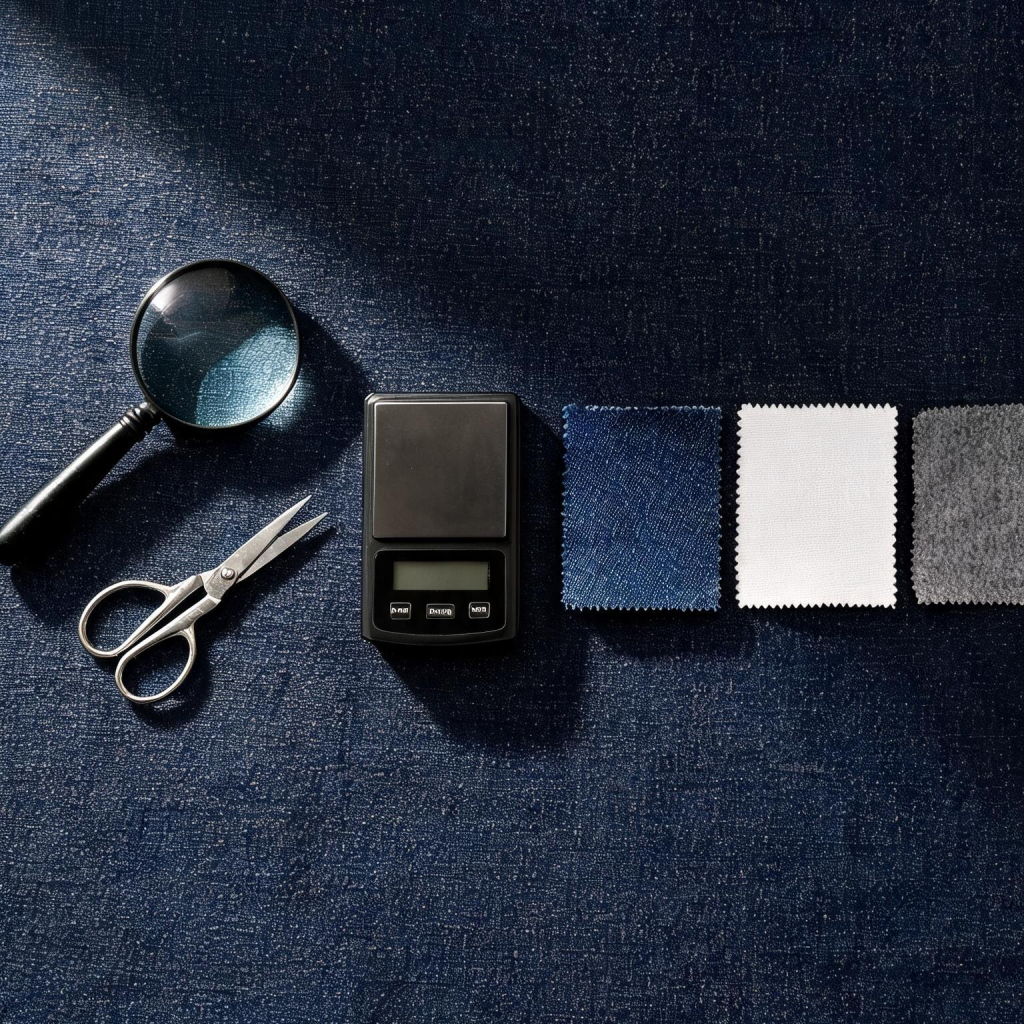
Grab an old garment with a known weight. Compare directly:
Check
How
What to Look For
Pinch test
Pinch a single layer between thumb and finger
Feel the density and body
Sound test
Shake the fabric quickly
Heavier fabric = deeper, duller sound
Crease test
Fold and press a sharp crease
High weight = stiff, knife-edge crease; low weight = soft, bounces back
Weigh the whole piece
Kitchen scale, full garment
Same size, significantly lighter = likely under spec
Light test
Hold up to a light source
Less light through = tighter weave = likely heavier
Limitation: This only gets you a range (roughly ±10-15%). But it’s enough to flag “lightweight / standard / heavyweight” tiers.
Method 2: Minimal Damage — Cut a Hidden Sample
Snip from the inside seam, hem allowance, or behind the care label. Completely invisible from the outside.
Recommended sample size by fabric:
Fabric Type
Sample Size
Why
Denim / heavy woven
2″ × 2″ (5cm × 5cm)
Stiff, easy to handle
T-shirt / light knit
4″ × 4″ (10cm × 10cm)
Thin fabric needs more area to reduce error
Sweatshirt / fleece
2″ × 2″ (5cm × 5cm)
Medium thickness, but measure single layer
Wool / cashmere
4″ × 4″ (10cm × 10cm)
Fluffy fibers need a larger sample
Silk
6″ × 6″ (15cm × 15cm) or larger
Extremely light; small samples give huge errors
Worked example (T-shirt):
Sample: 6″ × 6″ = 36 sq in = ~232 sq cm = 0.0232 m²
Weight (single layer): 0.45g
GSM = 0.45g ÷ 0.0232 m² = ~194 gsm (normal range)
Pro tip: For light fabrics, use a 0.01g precision scale or increase sample size to 6″+.
Method 3: Get a Basic Fabric Weight Kit
Tool
What It Does
Price
Best For
Circular cutter (100cm²)
Stamps out a perfect circle (area = 0.01 m²)
$6–12
Almost all fabrics
0.01g precision scale
Weighs the cut sample
$5–10
Light fabrics (essential)
0.1g scale
Weighs the cut sample
$3–5
Heavy fabrics (sufficient)
Why the circular cutter is the fastest:
The cut area is exactly 0.01 m².Scale reads 1.50g → that’s directly 150 gsm
Zero math needed
Where to buy: Amazon / eBay / Alibaba — search “fabric weight tester kit” or “circular cutter + digital scale”
Quick Decision Guide
Just this once → Use Method 2. Borrow a kitchen scale, cut a 2″–6″ sample from an inside seam. 5 minutes.
Test fabric regularly → Buy the kit (Method 3). Keep it in your desk drawer.
Sample cannot be cut → Use Method 1. Compare by feel + weigh the full garment.
Testing light fabrics (T-shirt / silk) → Must use a large sample (6″+) or a 0.01g precision scale.
Common Traps
1. Mixing up units → oz/yd² is imperial (1 oz/yd² ≈ 33.9 gsm). Don’t treat oz numbers as gsm. 2. Ignoring fabric structure → Fleece, terry, and 3D knits include air gaps. High gsm ≠ high fiber density. 3. Sampling bias → Fabric weight varies ±5% across a roll. Cut multiple samples and average. 4. Humidity effect → Fabric absorbs moisture. Weight increases in humid conditions. Note the environment.